
they said it couldn't be done
Who are THEY anyway!?!! THEY sure have alot to answer for!!
the other day I found an old piece of wood in the garage - made sure hubby wasn't planning on using it for anything special (after ignoring his eye rolling and his statement, "you're making WHAT now!?!!") and I had a post on pinterest (http://pinterest.com/pin/
it's like all the planets aligned!!
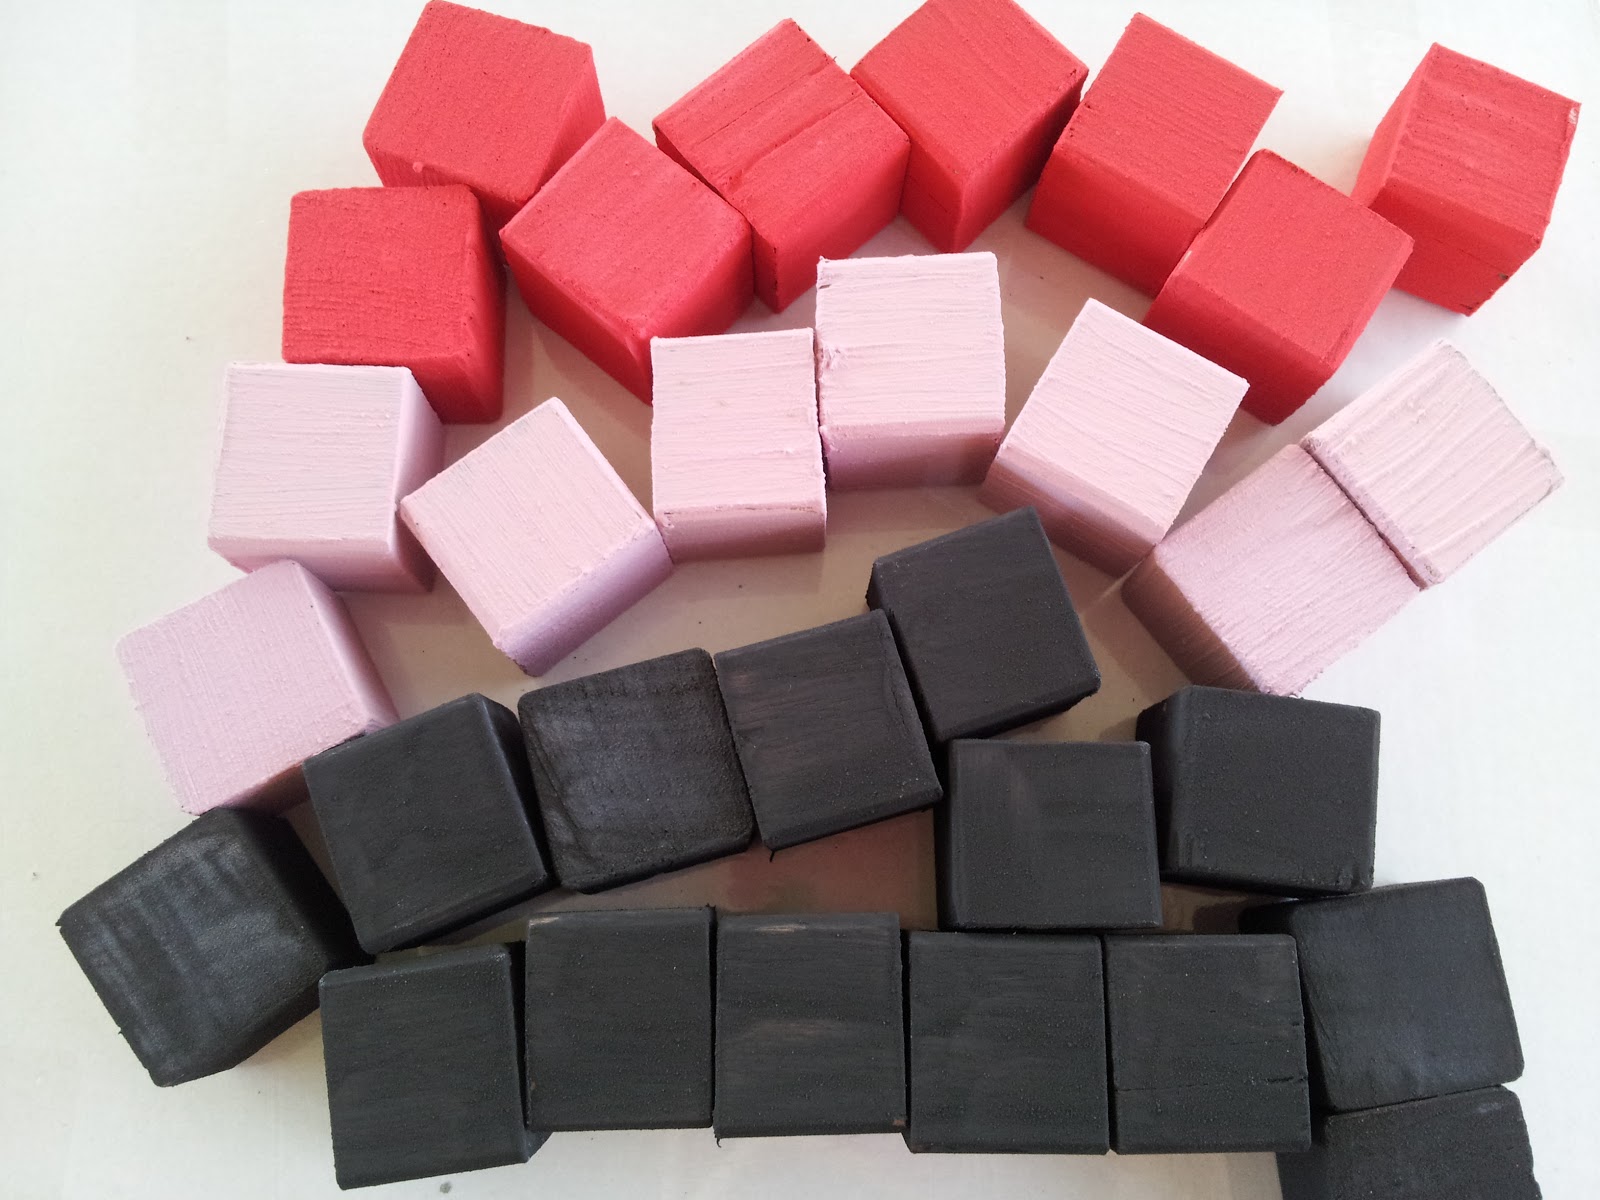
Chalkboard blocks
Materials
length of timber (i prefer to buy my wood from recycle centres & tip shops, just sayin)
acrylic paint in the colour of your choice
superfine white grout (THIS you have to find at a hardware store, unless you have a tiler friend and know that it's the super fine stuff) the other tutorial mentioned non-sanded grout, so check the packet for that too.
What to do
Cut your wood into block size pieces - I am lucky enough to have a husband with a drop saw, so i just get out there and cut cut cut...........others could probably go to a hardware store and get them to do it (for a fee I'd suspect,) or find a decent neighbour with a power tool collection, because doing each one with a handsaw is a MUGS GAME.

once you're all cut up - you simply need to sand the blocks so they're all lovely & smooth.....too easy!
now you're ready to paint - the quantities are a bit like making icing - you want it to be a gloopy consistency but not too hard and not too runny - if it's a bit grainy it might need a little more paint or a dribble of water. I tend to use 2 level tbsp of grout to 1/4 cup of paint - have a play with it!

paint 3 sides of your blocks with the paint and set them out to dry - give it at least an hour and then paint the other 3 sides. If you want to make it a proper professional job (ie if you're selling them,) then do them again, but it's up to the consistency of the paint & your decision to see if it's ok with just one coat)
Once they're dry you're ready to rock & roll - you can use your chalk on them straight away and put on heaps of messages - I have some that I use for christmas time, and then other times of the year they sit on the cupboard in the boys rooms - when it's time for their birthdays they'll come out again so we can share the love with any visitors.

i put some in the shop on Friday, and sold all but the display pieces on the Saturday - so i'd be get back to making more!!